Haunting Memories (Unity C#)
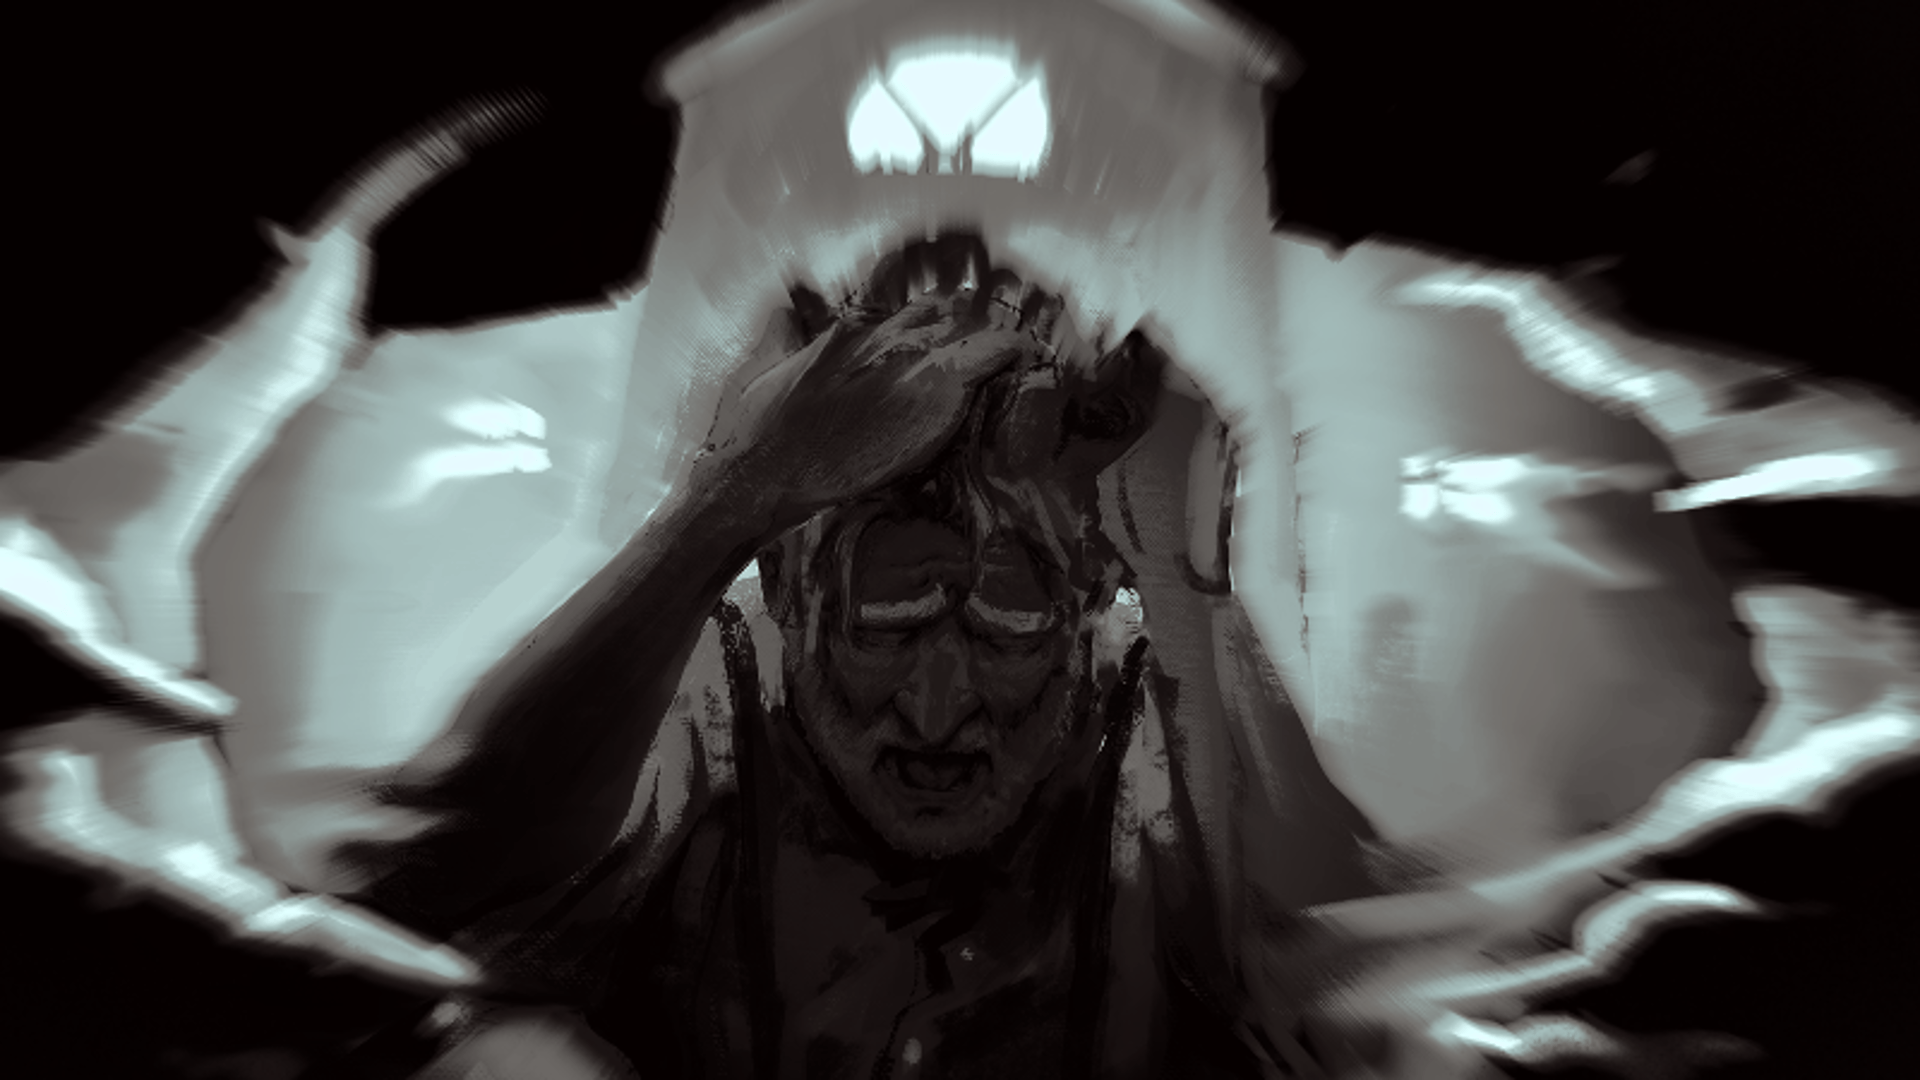
Haunting Memories is a psychological horror, walking simulator and platforming game. This game was developed in collaboration with a part-time indie studio, Dandelion Developers, which i co-founded with some of my classmates during the second year of our studies at Södertörns University. We were 8 members working on this project alongside our full time studies at the University and it took us about 8 months to finish, everything from the planning stage upontill the publication for the steam and Itchio-page.
Steam page: https://store.steampowered.com/app/3092680/Haunting_Memories/
Itch.io page: https://dandelion-developers.itch.io/haunting-memories
Game events surrounding Spinkyman, including the flashlight mechanic that responds with Spinkyman and animation events.
Contributed to some of the games level design
Overall Game Design
Programming on some puzzles
In addition i contributed to general gameplay, optimization and polish.


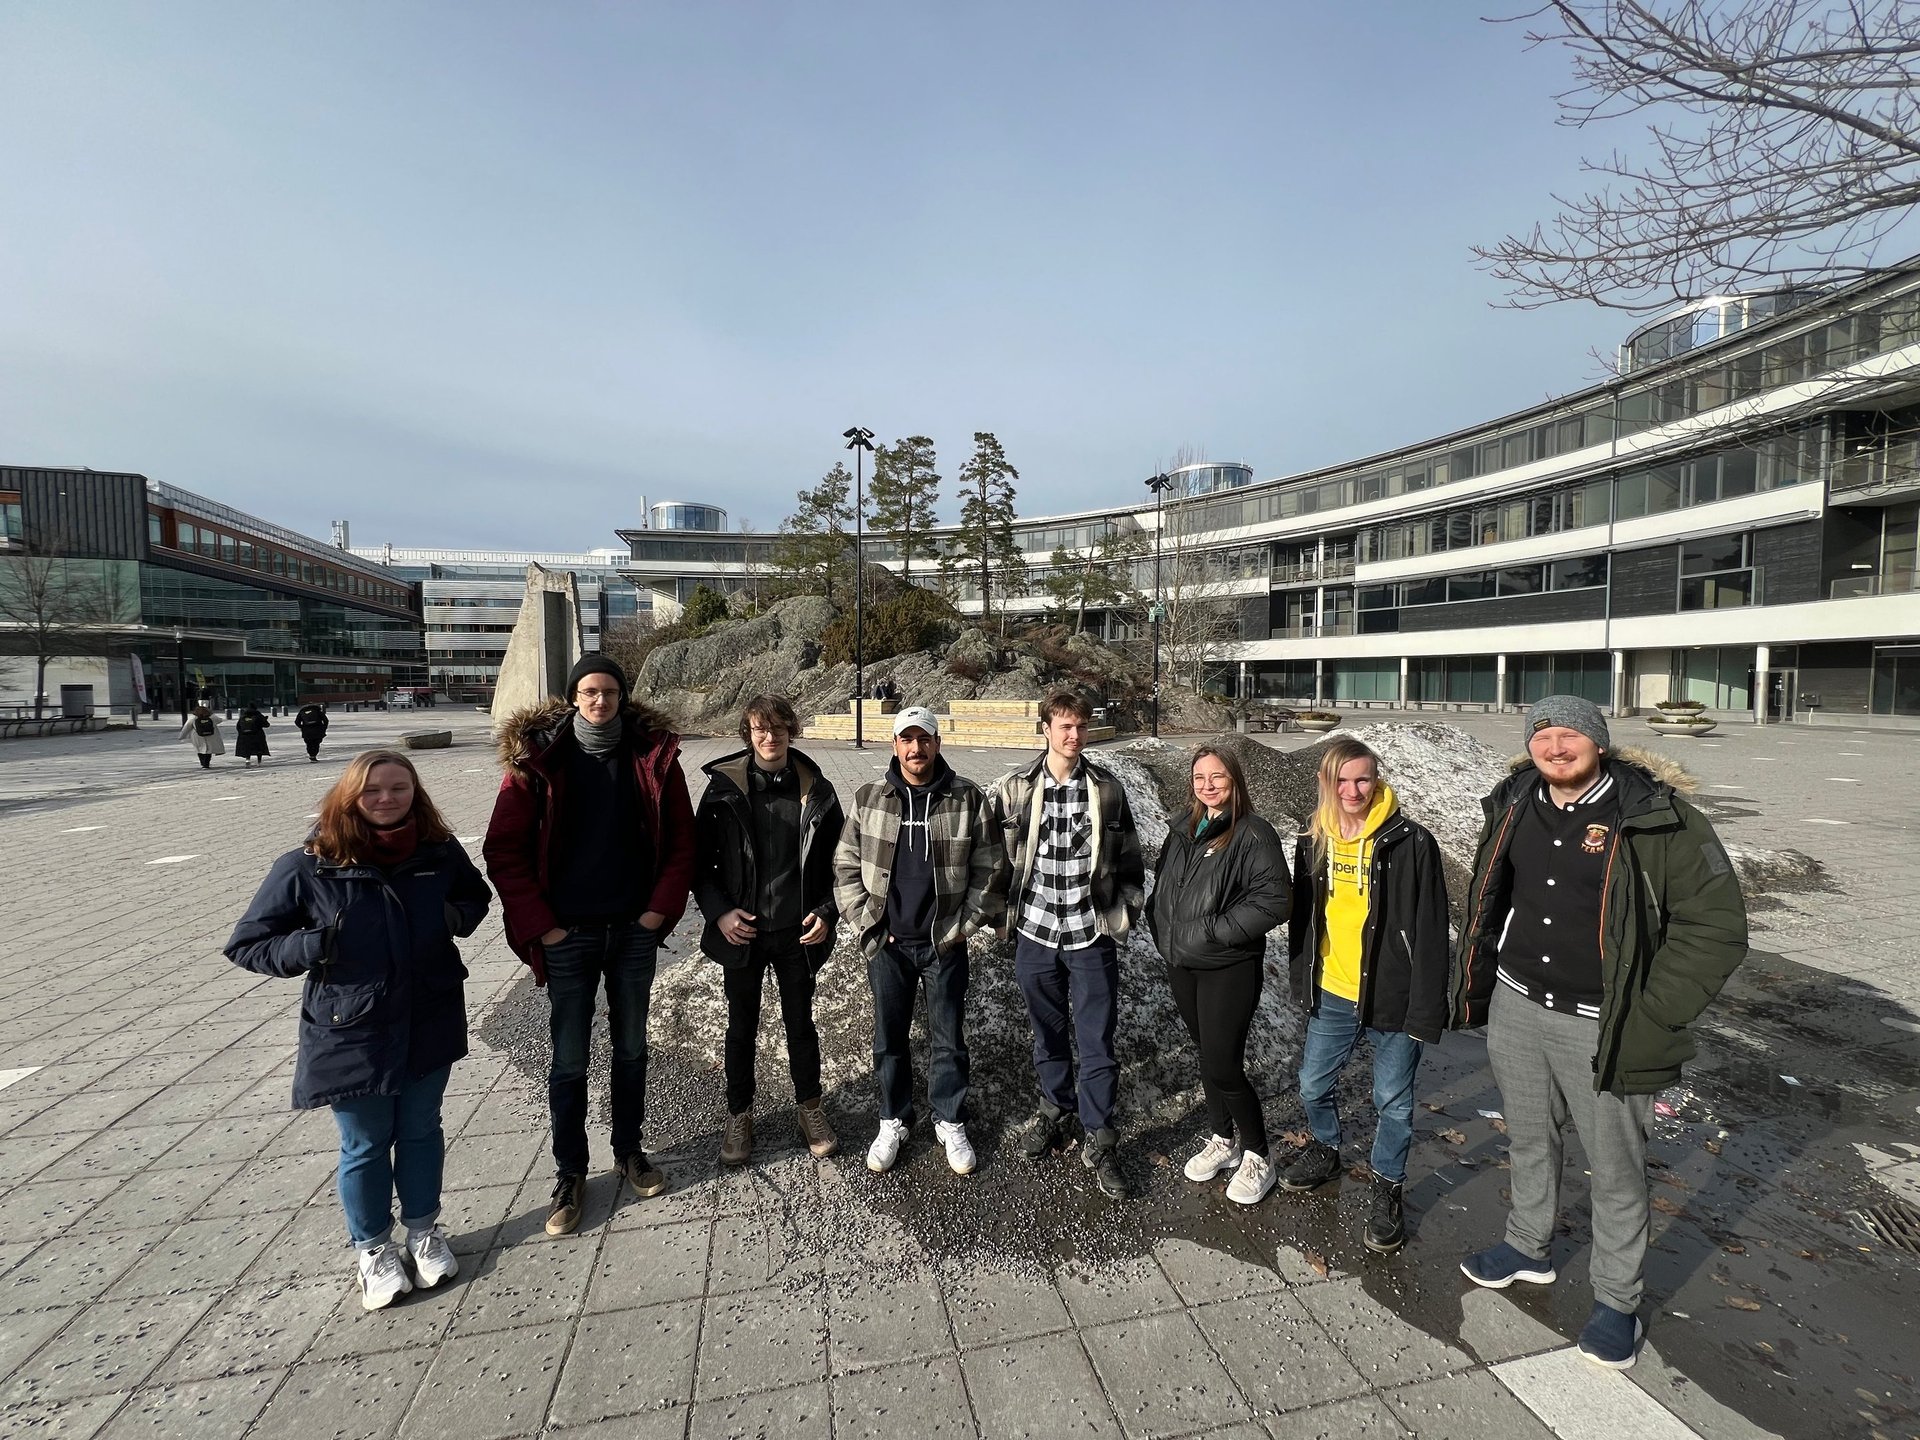
Dandelion Developers
Dandelion Developers, which i co-founded with some of my classmates during the second year of our studies at Södertörns University. A fun fact about how we started the studio goes back to our first year at university. During a project course, I was teamed up with four other students. Together, we created a horror-themed platforming game called Home, which received a lot of praise at the time. By our second year, three team members had moved on, but we who were left still felt passionate about the idea behind Home. One day, I found myself on a call with two of my classmates, and we started talking about creating a game similiar to Home, outside of our schoolwork. That conversation sparked the creation of Haunting Memories and laid the foundation for Dandelion Developers.



Im still updating this page, more coming soon.....

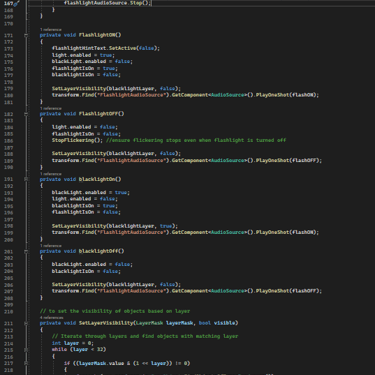
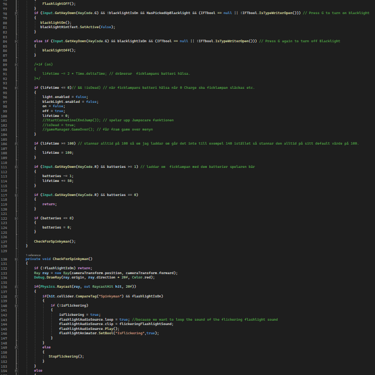
My Flashlight script adds an immersive gameplay mechanic by giving players a flashlight and blacklight; both essential for exploring dark areas and uncovering hidden clues in order to complete certain puzzles. It also provides visual and audio feedback, and enhances interaction with the game environment by responding to a specific enemy and special conditions, adding depth and realism to the experience.
Key Features of the Script:
The flashlight can be toggled on or off using the F key.
If the player has unlocked it, a blacklight can be toggled using the G key. The blacklight is used to reveal specific objects that are hidden otherwise.
If the flashlight is pointed at Spinkyman, the flashlight begins to flicker, accompanied by a sound effect. This is used during the events where Spinkyman shows up, adding a tension element. This usually happens right before Spinkyman is revealed, signaling that something unusual is happening. This flickering stops when the demon is no longer in the flashlight's path
The blacklight reveals specific game objects based on a defined layer: blacklightLayer. The script controls the visibilty of these game objects only when the blacklight is turned on.
Plays different sounds when toggling on/off and when it flickers, adding audio cues to make interactions more immersive.
Contributions


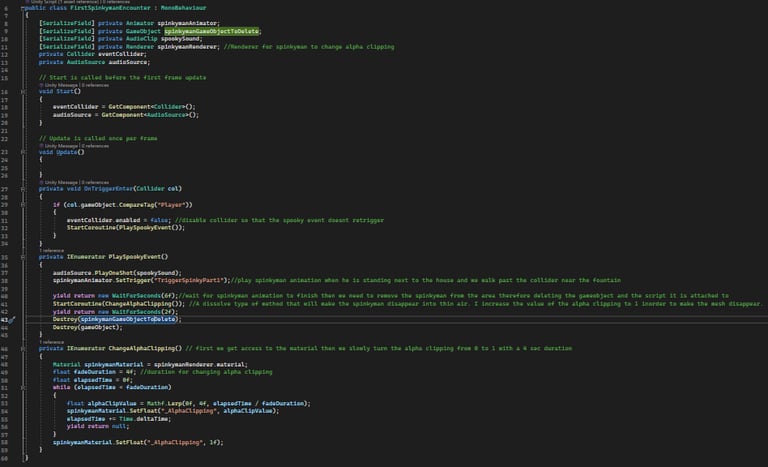
The FirstSpinkymanEncounter script controls the first encounter with "Spinkyman". It manages the animation, sound effects, and a gradual disappearance effect when the player triggers this event by walking into a specific area.
Key Features of the Script and how it works:
The script initializes by getting references to the Collider and AudioSource components attached to the same GameObject as the script.
When the player (identified by the "Player" tag) enters the event's collider, the encounter is triggered. The collider is then disabled to ensure that the event does not repeat itself. The PlaySpookyEvent() coroutine is started to play the spooky encounter sequence.
Playing the Spooky Event (PlaySpookyEvent Coroutine):
Plays the spooky sound using audioSource.PlayOneShot(spookySound).
Triggers Spinkyman's animation using the spinkymanAnimator component. Waits for 6 seconds (the approximate duration of the animation).
Starts another coroutine (ChangeAlphaClipping()) to make Spinkyman disappear.
After 2 more seconds, the Spinkyman GameObject is deleted to make him disappear completely. Finally, the script's GameObject itself is destroyed to clean up.
Dissolve Effect (ChangeAlphaClipping Coroutine):
Gradually changes the Alpha Clipping value of Spinkyman's material from 0 to 1 over a duration of 4 seconds. This creates a dissolve effect, making Spinkyman appear to vanish into thin air.
The material is accessed through the spinkymanRenderer component, and SetFloat("_AlphaClipping", value) is used to adjust the clipping property to make the character slowly fade away.


The SpinkymanSpookyMode script is designed to play in the beginning of Level 4. It is the player's first encounter with Spinkyman and is used in order to build suspense and create a horror-like scene in the level. When the player enters a trigger, the script initiates a sequence of events, including disabling the player's movement, flickering the lights in the hallway, camera movement, sound effects, and the Spinkyman animation.
Key Features of the Script and how it works:
The script takes control of the player's movement and camera to create a cinematic experience. The player's movement is disabled during the spooky sequence, preventing interruption.
The camera is smoothly manipulated to look at Spinkyman and his intended destination during the scene. This adds drama by forcing the player to see the event unfold.
Sound effects are played to elevate the tension—such as breathing and light flickering sounds. The lights in the hallway also flicker to create an unsettling atmosphere, which is a classic horror trope.
Spinkyman's movement and eventual disappearance are central to the spooky event. Spinkyman walks out from a door and slowly disappears in front of the player using an alpha clipping dissolve effect, making him look as though he vanishes into thin air.
After Spinkyman has disappeared, and the scene ends, the script deletes Spinkyman and itself, ensuring that no unnecessary objects remain in the game and preventing the event from happening again. The camera also returns to its original position and the player regains control
SpinkymanSpookyMode is designed as a mysterious and suspenseful introduction to the character, letting the player know that Spinkyman exists without being overly threatening. It builds the fear of the unknown.
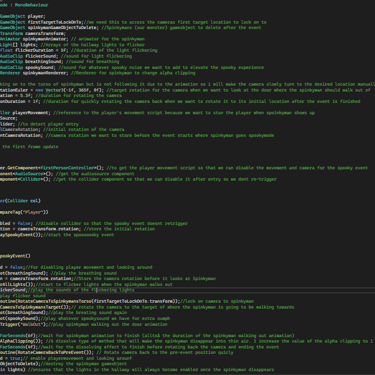
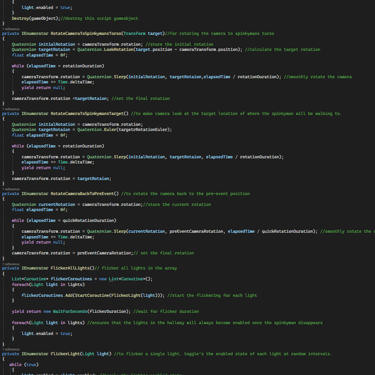
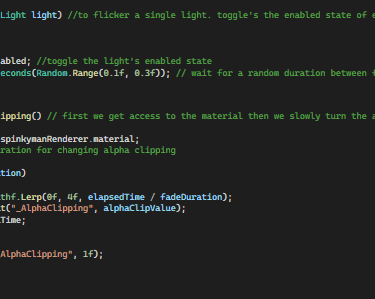


The SpinkymanSpookyMode2 is played in the beginning of level 5 and represents a more intense encounter with Spinkyman compared to the previous script in level 4. This time, Spinkyman doesn’t just appear and disappear—he actively approaches the player, increasing the stakes and tension.
Key Features of the Script and how it works:
The lights flicker for a longer duration (12.3 seconds), adding to the intensity of the situation.
The camera first locks onto Spinkyman, but instead of him just standing, he begins walking toward the player, creating a more threatening presence.
Along with the flickering sounds and breathing, a voice line is played to heighten the tension as Spinkyman closes in on the player.
Unlike in level 4, where Spinkyman just appears and disappears, in level 5, he walks directly toward the player, simulating a confrontation.
Once Spinkyman reaches the player, he dissolves, using the same alpha clipping technique from level 4.
After the event, the camera snaps back to its original orientation, and the player regains control. Spinkyman’s GameObject is destroyed, and the lights are restored.
This part intensifies the fear compared to Part 4 by making Spinkyman's approach more direct and aggressive. It feels more like a pursuit or confrontation, increasing the stakes for the player.
SpinkymanSpookyMode2 intensifies this fear by making Spinkyman more aggressive and confrontational, escalating the player's sense of danger. This encounter raises the stakes as the player feels Spinkyman getting closer.
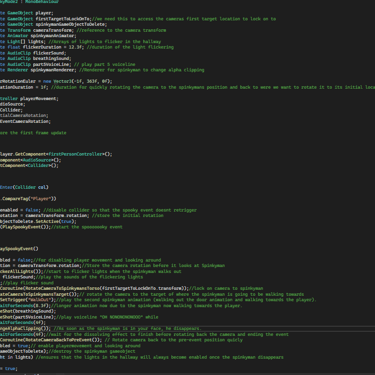
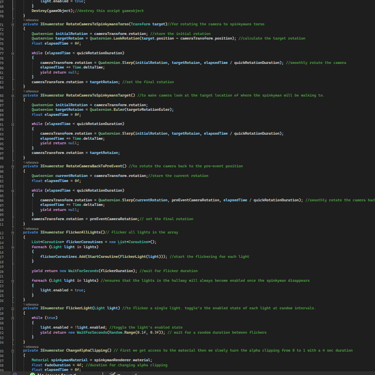


The PlatformClimbSpinkyman script is designed to create a scary and suspenseful encounter in which Spinkyman appears, climbs up on furniture, and then disappears in front of the player. This encounter uses sound effects, lighting, and visual effects to heighten tension while the player is parkouring in level 5.
Key Features of the Script and how it works:
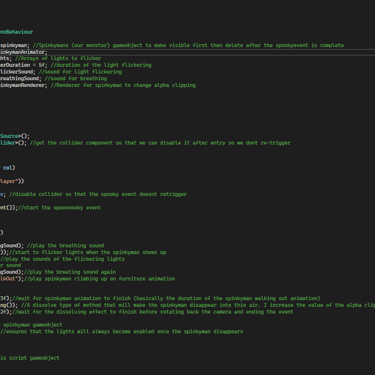
Animator: The animator is used to trigger Spinkyman's climbing animation.
Lights Array: This array contains lights that will flicker during the event and Flicker Duration defines how long the lights will flicker during the event.
The renderer controls the material on Spinkyman's mesh, allowing for the alpha clipping effect that makes him dissolve.
The collider is used to detect when the player enters the event zone and disables itself after triggering so the event doesn’t repeat.
When the player (identified by the "Player" tag) enters the collider, the spooky event is triggered.
The collider is disabled to ensure that the event doesn’t retrigger.
Spinkyman is made visible by setting the GameObject active.
The PlaySpookyEvent coroutine is called to begin the event sequence.
Spooky Event Sequence (PlaySpookyEvent Coroutine):
Breathing Sound: The breathing sound effect is played to build tension.
Flickering Lights: The lights start flickering, and flickering sounds are played.
Spinkyman's Animation: The script triggers the Spinkyman’s climbing animation, showing him climbing up on furniture.
Disappearance Effect: After the animation finishes, Spinkyman disappears using a dissolve effect created by gradually increasing the alpha clipping value in the material. This makes Spinkyman appear to dissolve into thin air. (ChangeAlphaClipping): This coroutine gradually changes Spinkyman’s alpha clipping value from 0 to 1 over 4 seconds, which makes him slowly disappear from view. This is achieved by adjusting the shader property that controls the visibility of the material.
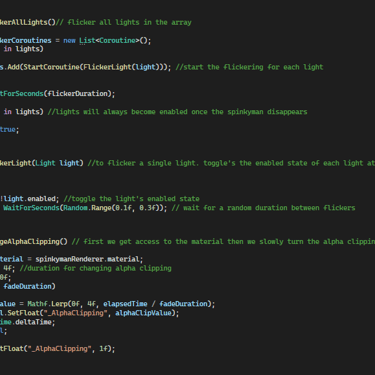
FlickerAllLights(): Starts the flickering effect for all lights in the scene by triggering the FlickerLight() coroutine for each light in the array.
FlickerLight() toggles each light’s enabled state on and off at random intervals (between 0.1 and 0.3 seconds) to simulate the flickering effect. This creates a disorienting and spooky atmosphere.
At the end of the event, once Spinkyman disappears, the lights stop flickering and are restored to their fully-on state. Spinkyman’s GameObject and the script are destroyed to clean up the scene.


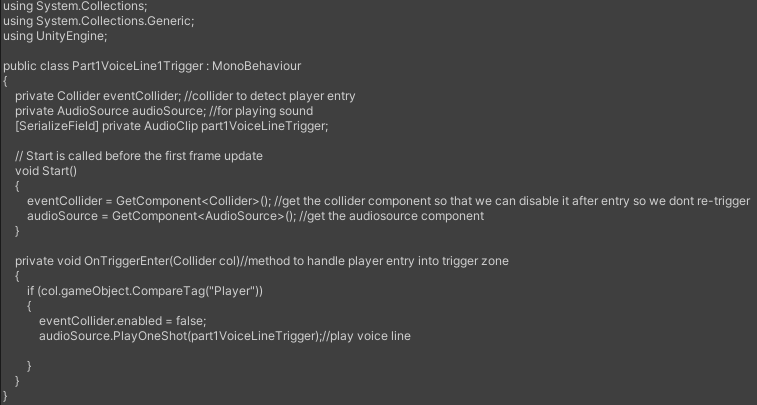
The voice lines in the game are triggered through several scripts: Part1VoiceLine1Trigger, Part1VoiceLine2Trigger, Part2VoiceLine1Trigger, Part2VoiceLine2Trigger, Part2VoiceLine3Trigger, Part3VoiceLine1Trigger, Part3VoiceLine2Trigger, Part4VoiceLine1Trigger, Part4VoiceLine2Trigger, Part6VoiceLine1Trigger, and Part6VoiceLine3. Each script activates a specific voice line when the player enters a designated collider area.
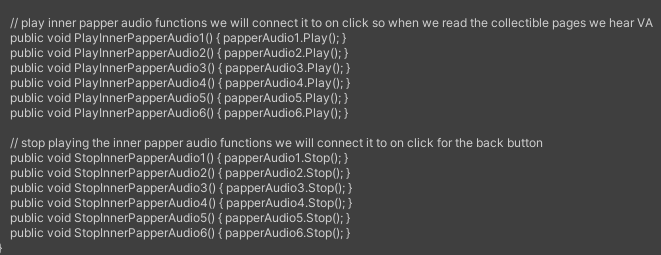
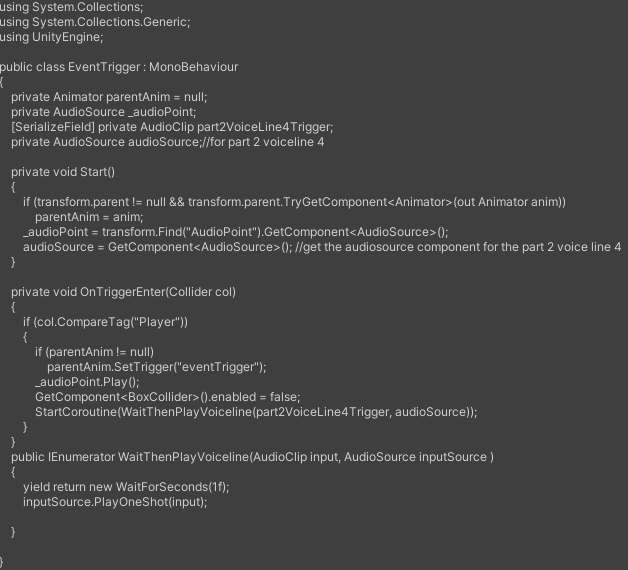
Not all voice lines are triggered through colliders. For example, in Part 2, after the player tries to hang up a picture that fell in the hallway, the EventTrigger script initiates a voice line. Additionally, some voice lines play when the player interacts with collectible pages. In the (PauseMenuUI script) pause menu, clicking on a page in the collectibles section triggers a voice line where the character reads the page.
While I’m aware that this system could be more efficient—perhaps by consolidating all voice lines into a single, more streamlined script—this approach allowed us to meet our project deadline quickly. In the future, I’d like to refine this system by combining these triggers into one comprehensive script to reduce redundancy and improve maintainability.






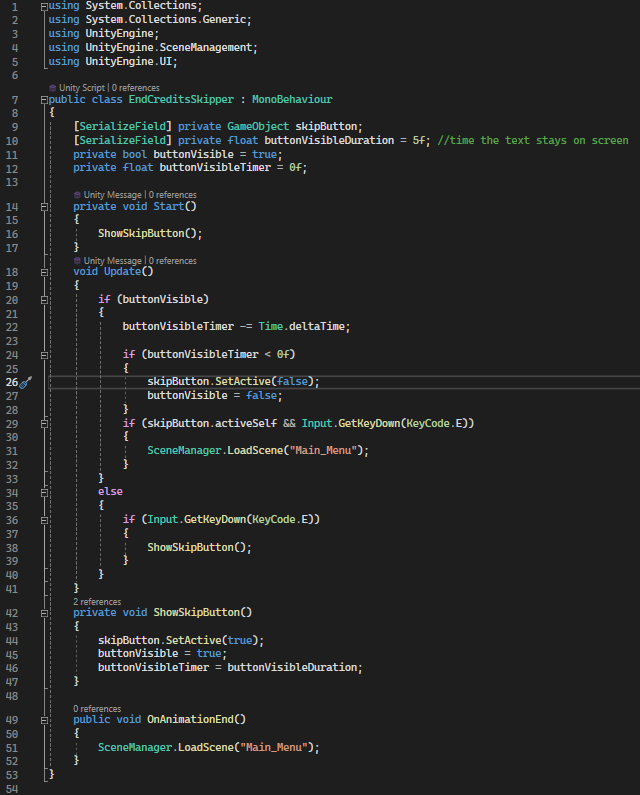
EndCreditsSkipper script is designed to manage the end credits sequence, allowing players to skip the credits and return to the main menu. It displays a "Skip" button for a set duration and provides functionality to reload the main menu scene on command.
In Start(), the script immediately calls ShowSkipButton() to display the "Skip" button when the end credits start.
In Update(), the script checks if the skip button is visible. If so:
It counts down the visibility timer until it reaches zero, at which point the skip button hides itself.
The player can press E to skip the credits and return to the main menu.
If the skip button isn’t visible, pressing E makes it reappear by calling ShowSkipButton(). This method makes the skip button visible and resets the visibility timer to buttonVisibleDuration which controls how long the "Skip" button remains visible.
OnAnimationEnd() is called at the end of the credits animation to load the main menu scene automatically, ensuring that if players watch the entire credits, they’re seamlessly returned to the main menu without further interaction.


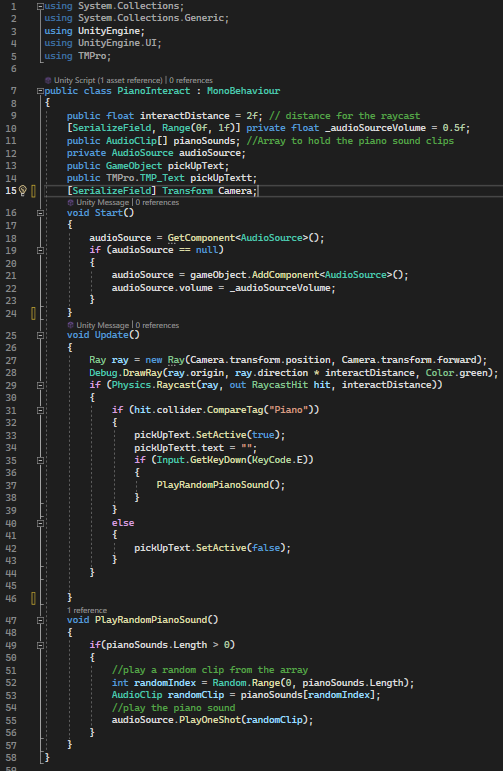
PianoInteract - a simple piano script that allows the player to interact with a piano in level 6. When the player is within the specified distance of the piano, they see a prompt and can press a key to play a random piano sound.
Casts a ray from the player’s camera to check for interaction with objects tagged as "Piano".
If the player is within interactDistance and the ray hits an object with the "Piano" tag, the interaction prompt (pickUpText) appears.
When the player presses E, the script calls PlayRandomPianoSound() to play a random piano sound clip. This method selects a random sound clip from pianoSounds and plays it via audioSource.PlayOneShot(), adding variety each time the player interacts with the piano.
If the ray doesn’t hit the piano, the interaction prompt is hidden.


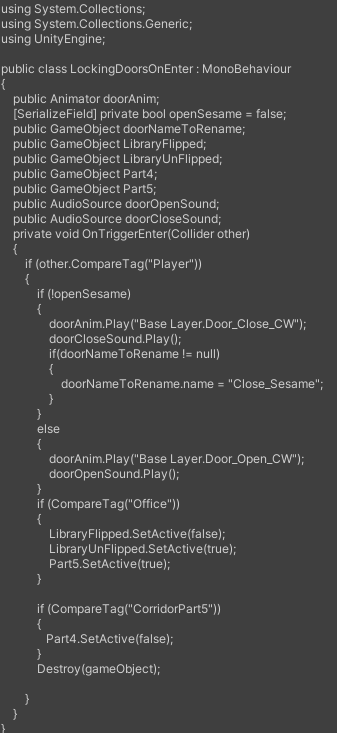
LockingDoorsOnEnter - a simple door closing script that controls the door’s behavior when the player enters a specific area or room. Depending on the state, it either closes or opens the door, plays the corresponding sound effect, and handles an additional game event once the player finishes the puzzle in the office room of level 4.
OnTriggerEnter(Collider other) checks if the player enters the trigger area.
If openSesame is false, the door closes:
The Door_Close_CW animation plays.
The doorCloseSound audio plays.
If specified, doorNameToRename changes its name to "Close_Sesame".
If openSesame is true. the door opens:
The Door_Open_CW animation and doorOpenSound play.
The office room door in level 4 holds the tag "Office". Upon entry, the script deactivates LibraryFlipped and activates LibraryUnFlipped, altering the library’s environment. Additionally, it enables Part5, transitioning gameplay elements for Level 5.


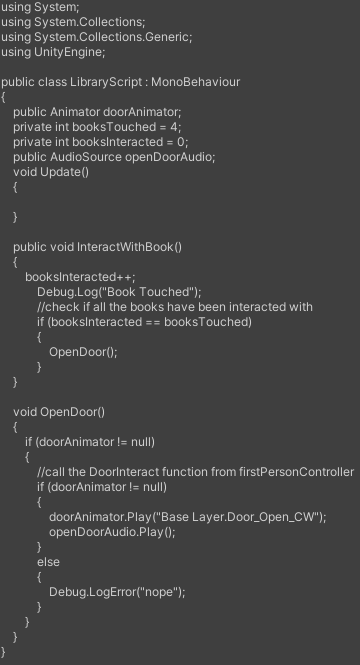
The LibraryScript manages the conditions for completing the library puzzle, specifically tracking and interacting with the books that can be seen with the blacklight. When all necessary books are interacted with, it triggers an animation and sound effect to open the door to the office room.
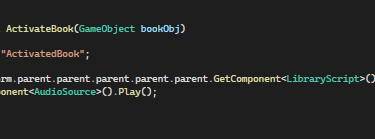
In the library puzzle, LibraryScript relies on the InteractableActions script to handle interactions with books. Each time the player interacts with a book, InteractableActions.ActivateBook() renames the book, triggers LibraryScript.InteractWithBook(), and plays a sound. Once all specified books have been interacted with, LibraryScript opens the door, signaling puzzle completion.
